Monthly Archives: April 2010

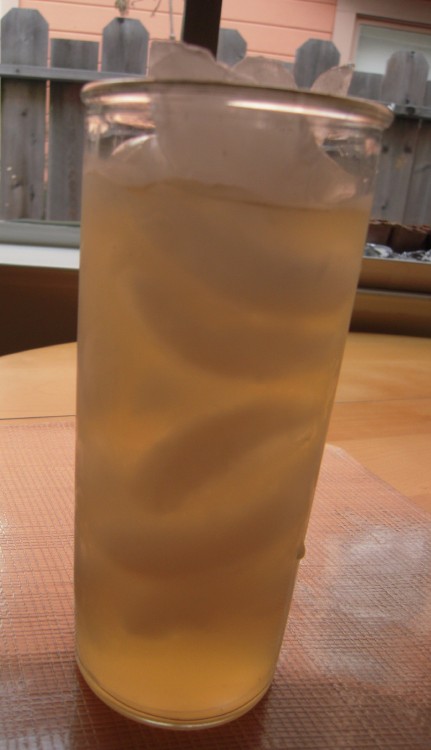
Thai salty limeade

thai salty limeade

A couple of years ago a friend came back from Thailand with an easy recipe for a cold lime drink that’s a little salty.  She said it was a popular drink there, given the extreme heat.

I’m grilling some chicken this weekend, and it’s supposed to be nice and sunny, so I thought I’d make some of this in place of my usual iced tea.

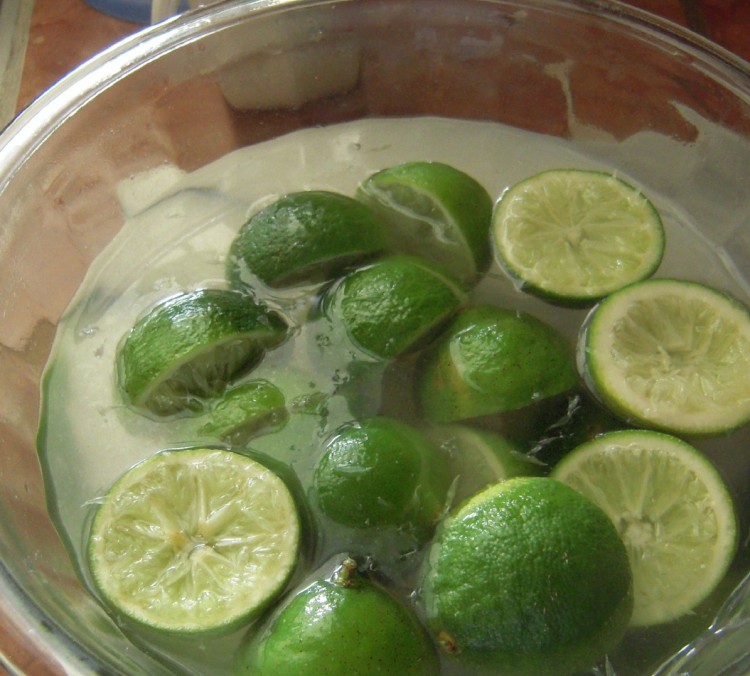
While sweet-salty-sour combinations are desirable in Thailand, here, well, there’s still a bit of pioneering involved.  Not everyone will like this, and I wasn’t sure I liked it until I raided the fridge for the pitcher a few times.  In addition to the salt, there’s a little bitterness from the rinds. limes in water and sugar 2010

I make the drink as written and then add extra ice and water to my glass.

Give this a try and see what you think.  Set yourself up somewhere under a patio umbrella with a good book and sip away.

Thai Salty Limeade
   makes about 5 cups

1 cup fresh lime juice (squeeze from limes that have been rinsed well)
all the lime halves the juice was squeezed out of
1 quart water
3/4 cup sugar
pinch good sea salt or Kosher salt

1).  Place lime halves in a glass bowl
2).  Boil water, sugar and salt together for 2 or 3 minutes
3).  Pour over lime halves and allow to sit for no more than 5 minutes (longer and the drink will be very bitter)
4).  Strain mixture into a glass pitcher, squeezing lime halves to obtain the liquid they absorbed
5).  Strain lime juice into pitcher and mix
6).  Refrigerate for at least 4 hours and serve over lots of ice, adding more water, as desired

The wonders of duck fat

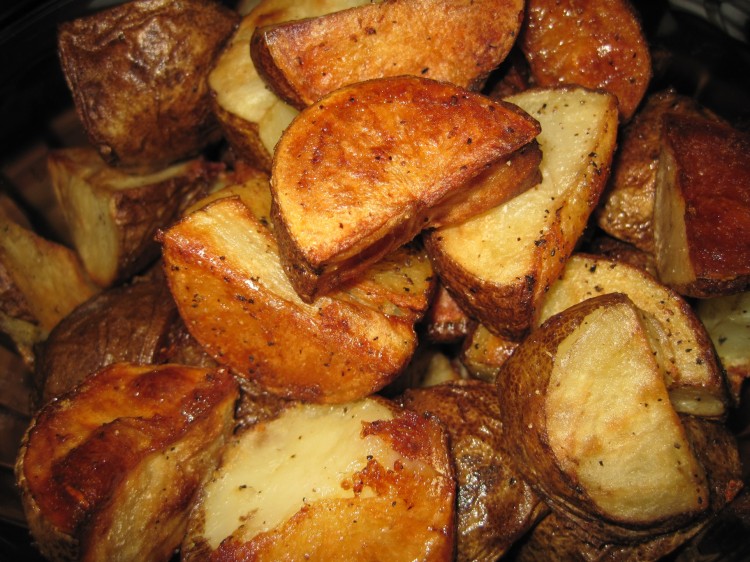
duck fat potatoes 2010

Being of German extraction, I think you should always have a bag of potatoes in the house.

Whatever else you may or may not have on hand, with potatoes and oil you can make a meal:  roast potatoes.

If you have eggs, you can add a couple on top – over easy.  Throw in toast and you’re living large.

With a container of rendered duck fat, however, you can produce the most fabulous roast potatoes of your life.

Now you know why I serve duck for Easter.  Not only are roast ducks delicious, but I wind up with a couple of cups of fat that I can use over the next 6 months.

While I don’t use a traditional rendering method, it works just fine for me, so I thought I’d pass it along.

It’s easy.  Go to 99 Ranch Market or your supermarket and buy a duck.  You’ll probably get a Pekin, which is the most common meat duck in the US.  When I was growing up they were called “Long Island” ducks.  Apparently a number of them were exported from China in 1873, with several winding up in New York’s Suffolk County.  This part of Long Island then became a major duck farming area.

You might see Musovy ducks – stronger tasting and leaner – or the Pekin-Muscovy hybrid, Moulard.  Since you’re not making confit (in which case the Moulard would be your pick), and you want lots of fat, I’d go with the Pekin.

Rub with salt and roast on a rack at 350 deg. F until the internal temperature reads 165.  A broiling pan works well for this – the kind you get when you buy a range.  Some cookbooks tell you not to rub ducks with salt prior to roasting, but this is crazy to me.  I want crispy skin and don’t care if there is salt in the rendered fat.  If you have convection, use it.  This is not a good time to use wine or apples or any of that other stuff because you don’t want to flavor the fat.  When you move the duck from the rack to a serving dish or board, don’t allow all the juices run out of the opening into the roasting pan.

OK, so now you have a duck for four that you can serve with braised red cabbage and whatever else you want.

You should have a nice amount of fat with some drippings in your roasting pan.  Try to leave drippings in the pan, to the extent possible, in the next step.  When just comfortable to handle, carefully pour fat through a fine-meshed sieve into a large glass measuring cup, or something like it, and leave on your counter until the fat has risen to the top of any drippings.  At that point you can just pour (or almost pour – the melting point of duck fat is 76.5 F) the fat into a food-safe plastic container, being sure not to pour any of the drippings out.  This is very important because they will reduce the shelf-life of the fat considerably!  Wrap the container in plastic and store in the back of your fridge.

Drippings scraped from the pan and those remaining in your measuring cup can be stored in a small container for use in the next few days.  I don’t bother separating out that last little bit of fat, and simply make a big batch of roast potatoes with this mix of fat and gelee, or use the latter in a pan sauce.  I try hard not to waste anything on an animal.

rendered duck fat 2010

If you want to make roast potatoes, just substitute all, or half, of your canola or olive oil with duck fat.

Duck fat tastes so good you’d think it was terrible for you.  On the contrary, it’s high in monounsaturates and has good things going for it in the way olive oil does.

Before I jot down my roast potatoes recipe, I want to give a nod to Pear Street Bistro in Pinole.  A couple of years ago I had an appetizer there that involved crispy roast potatoes covered with melted Gruyere and a side of short rib gravy.  Since that time I’ve stretched many a meal out of leftover braising sauce, melted cheese and roast potatoes!

Crispy Roasted Duck Fat Potatoes

4 extra-large Russet potatoes, washed/scrubbed, dried and cut into large pieces (1-1/2″- 2″)
1/4 cup rendered duck fat, give or take, dep. upon potato size
Kosher salt
Freshly-ground pepper

1).  Place potatoes on a large sheet pan*
2).  Add the duck fat and salt to your liking
3).  With your hands, rub fat, salt and potatoes together so potatoes are coated
4).  Bake at 400 deg. F (convection, if you have it, but keep an eye on things to prevent burning) for about 40 minutes, or until you see some serious browning action
5).  Take out and turn potatoes.  Use a spatula with a sharp edge and scrape/pry under potatoes so you don’t leave crusts on the pan.  Some will stick, some won’t.  If they are too dry, you can add a little olive oil, making sure there is oil where taters make contact with the pan
6).  Continue to roast until very brown on all sides.  I tend to overcook them a bit so they’re very crisp on the outside and buttery soft inside
7).  Remove from pan carefully with said spatula and sprinkle with a little ground pepper

*You should have at least one really big sheet pan!  For most of us this will be 15″ X 21″ – AKA 3/4 sheet pan, based on commercial sizes.
Lime gelatin with Fleur de Sel

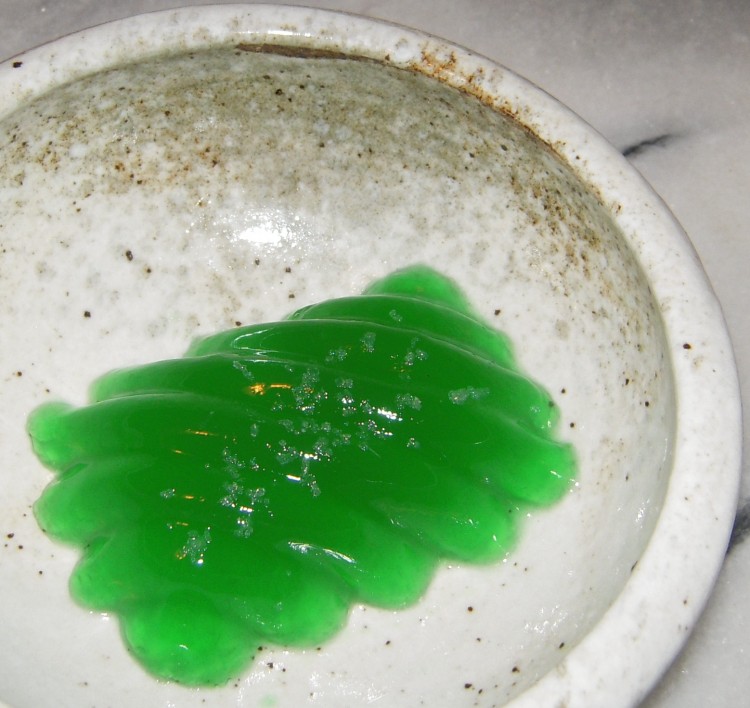
Homemade lime gelatin with sea salt

A bumper crop of limes in my backyard when winter came to an end had me thinking of ways to employ them.

I do quite a bit of Thai and Vietnamese cooking, so having limes handy makes sense.  There’s one dwarf Bearss and one dwarf Mexican – both terrific producers.  The Bearss gives me large, seedless, regular old limes, and the Mexican, small, thin-skinned, sour fruit.  Both are in wide, deep containers.  They get plenty of sun, I water them regularly during the summer, and I stay on top of the fertilizer situation, which is key, particularly the nitrogen.

If you live in the East Bay, I encourage you to plant a little citrus orchard, even if you need to do it with containers.  Get yourself these two lime trees, a Eureka lemon, a Meyer lemon,  and perhaps a Kaffir lime, depending upon what you like to cook.  I also have a Calamansi, a hybrid native to Southeast Asia and very popular in the Philippines, that I’ll talk about in another post, but it does not do quite as well in non-tropical climates.  Keep your trees in the same vicinity for pollination.

So, what to do with all these limes?

My son, now 23, is always clamoring for some kind of fruit-flavored gelatin.  If it’s fluorescent, so much the better.

Not a problem, as I am never without a large canister of Knox unflavored gelatin.  Why?  I admit to being a fan of terrines, molds and aspics.  In fact, I’m all about the whole garde manger (cold foods) thing.  While I put together numerous roasted vegetable terrines in my day, I have no problem busting out some sort of crazy thing from the salad section of a 1958 American cookbook.  The more retro and scarier the better.  Why not?  It’s a hoot when you present your friends with a dessert that involves Jell-O, mayonnaise and shredded carrots in 5 colorful layers.

This time I thought I’d use my 1940’s-era metal aspic molds for little lime gelatins, and then top them with a sprinkling of fleur de sel – the cream of the sea salt crop.  The salt idea came from my fondness for Thai lime drink, which is a little salty.

I made the little ones as a kind of palate cleanser, and several custard cup-sized versions without salt to serve to my son in lieu of packaged Jello-O.

If you find it too sour or sweet, adjust the recipe.  Note, however, that a reduction in total liquid volume will require an adjustment in the amount of dry gelatin needed.

I would be surprised if you think this recipe is not sour enough, though, as I was generous with the ratio of lime juice!  That said, I don’t know what kind of limes you’re using.

The bottom “lime”:  Please make your own gelatin desserts using unflavored gelatin and fruit juice.  You’ll save money and be able to control the sugar.  Buy a large container of Knox brand at a store that serves the restaurant trade, like Smart & Final.

Lime Gelatin with Fleur de Sel

1 Tablespoon Knox, dry, unflavored gelatin
1/2 cup cold water
3/4 cup fresh lime juice
3/4 cup boiling water
1/2 cup sugar
Green food coloring
Fleur de Sel

1).  Stir dry gelatin into the 1/2 cup cold water and allow to bloom for 10 minutes
2).  Combine boiling water and sugar thoroughly in a glass bowl  (I use a tempered glass pitcher – easier to pour from)
3).  Stir in bloomed gelatin until completely dissolved
4).  Stir in lime juice
5).  Add a little food coloring; make it as green as you like
6).  Pour into molds and place in fridge
7).  Unmold when very firm (dip bottom in hot water for a second if it sticks) onto small serving plate
8).  Sprinkle a very small amount of salt on the top right before you serve

Korean rice cakes

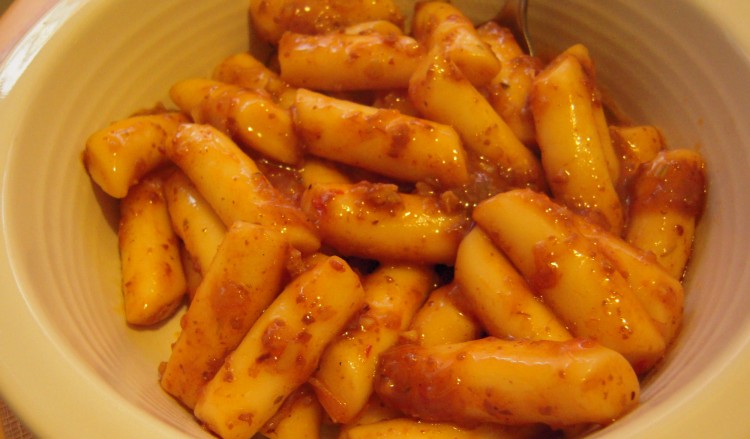
Korean Rice Cakes with XO Sauce

Korean Rice Cakes with XO Sauce

When I visit that Mecca for Asian groceries that is 99 Ranch Market (3288 Pierce Street, Richmond), I usually run into interesting products I haven’t worked with before.  Often the item is something I’ve seen on a plate in a restaurant or read about and have been wanting to try my hand at.

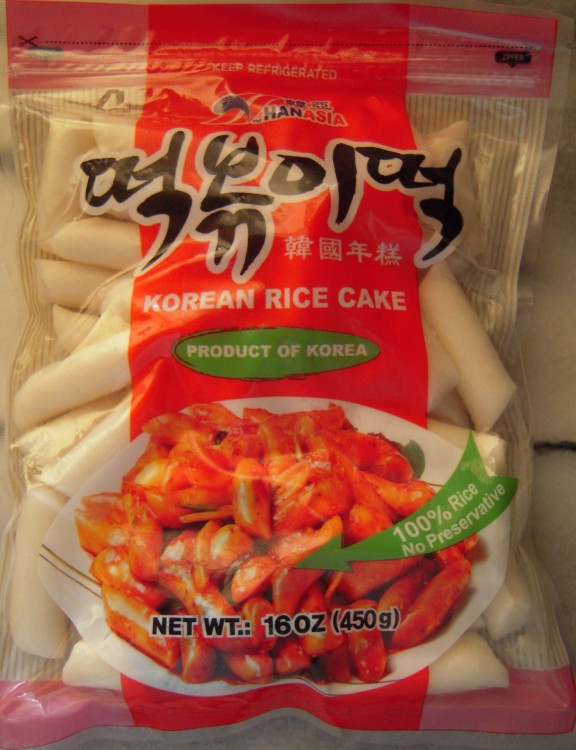
Enter a 1-pound bag of Korean rice cakes I found in the refrigerated noodle section.

Korean rice cakes (garaddeok)

Korean rice cakes (garaddeok)

Rice cakes, called ddeok, are an integral part of Korean cuisine, and there are numerous kinds.  Some are made from glutinous rice, some from non-glutinous, some are sweet, some savory.

A little squeeze of these plain solid tubes through their wrapper told me they’d be like Shanghai rice ovals, namely dense and chewy.  Called garaeddeok, they are the main ingredient in ddeokbokki (spicy Korean rice cakes), a popular dish that’s readily available from street vendors.  The heat in the dish comes from the addition of a pungent chili paste called gochujang.

I figured I’d follow the directions on the package and deviate as needed based on a little research.  Sometimes English instructions on Asian food products are minimal, so it helps to get an elementary grasp of how a noodle or cake is dealt with from a trusted book or blog.  For example, it’s good to know about any soaking or pre-cooking requirements.

Advice that was universal:  better to undercook  than overcook garaeddeok, given that they should be quite chewy when served.  Many cooks suggest rinsing and soaking, though this was not mentioned on the package.  Most cooking treatments involve a spicy sauce that self-thickens from the starch in the cakes.  Check, check and check.

Apparently these commercially prepared and  packaged cakes run a far second to fresh ones purchased at rice cake shops in Korea.  I believe that.  I would imagine the texture suffers in large-scale production.

The bare-bones recipe I developed turns out a tasty dish.  Try it and then move up to real ddeokbokki recipes, which I plan on doing now that I have an idea of how garaddeok behave when subjected to heat and liquid.

These rice cakes are very chewy, but give them a try.

Here’s advance warning that you’ll be seeing other dishes inspired by Korean ingredients on the blog.  The number of authentic Korean restaurants in the East Bay of late has allowed me to sample a broad range of  dishes – not just barbecue or bibimbap, but things like tofu soup – so my interest is at an all-time high.

Korean Rice Cakes with XO Sauce
   serves 4 or 5 as a side dish or part of a larger meal

1 pound Korean rice cakes (garaddeok), cut into 2-inch lengths, if purchased whole (and if you get them whole, tell me where you got them!)
2 tablespoons canola oil
2 green onions, chopped (both green and white parts)
3 cloves garlic, finely minced
1-1/2 cups chicken stock or broth
2 tablespoons dark soy sauce
2 tablespoons (or more) XO sauce (buy this seafood-based chili-garlic sauce in Asian markets)

1).  Rinse rice cakes and soak them in cold water for 30 minutes
2).  Heat oil in a wok (or a heavy, slope-sided cooking vessel); non-stick is a good choice for this dish
3).  Saute the green onions and garlic until a bit soft
4).  Add chicken stock and soy sauce and bring to a boil
5).  Add rice cakes, separating them carefully first if they’re stuck together
6).  Cook over high heat for 3 minutes, moving them around regularly so they don’t stick together
7).  Add XO sauce and continue to cook as above; if very dry, add a little more stock
8).  When sauce thickens sufficiently, turn off heat and serve, but don’t cook them more than another 3 or 4 minutes

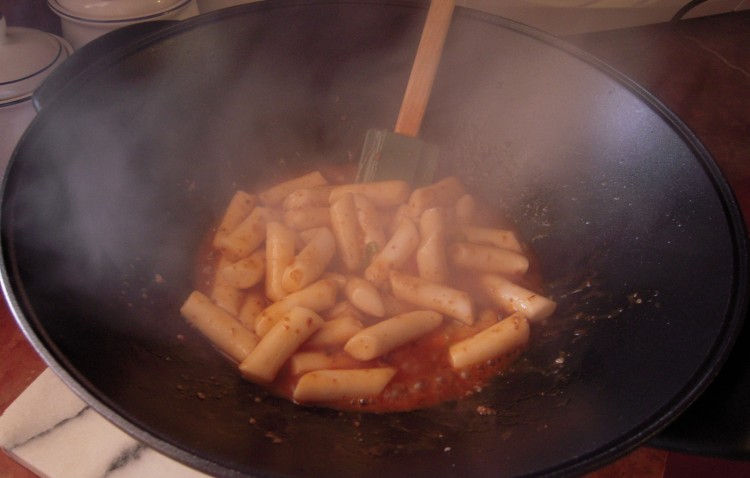
Korean rice cakes cooking in wok

Korean rice cakes cooking in wok

Earth Day 2010

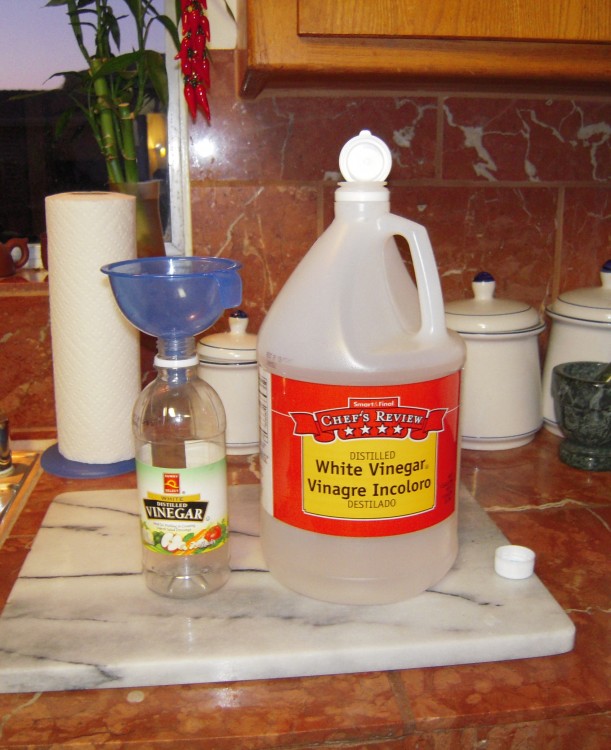
vinegar & funnel 4-10

Earth Day is a big deal in the SF Bay Area, but I’ll leave the public displays and überpreaching to others who get into those kinds of things.

I do my part by being frugal.  I’m not making any particular effort, it’s the way I was raised.

My parents had very little as children, to say the least, and these immigrant families had to struggle just to survive.  My Mom and Dad were always cognizant of their use of anything, so it was part of my world not to be wasteful, which results in kindness to your pocketbook and the environment.

Here are a few “green” things I do:

I’m big into funnels.  Funnels that funnel from large containers into small ones.  I do this with vinegar, soy sauce, cooking oil – whatever I can buy in large containers at places like Smart & Final and Costco.

I also have a large set of professional, food-grade plastic storage bins that I use for flour, sugar, rice, cornmeal, and about 25 other dry products.  Not only do they make access to these things easier, particularly flours, but they save the world from all that packaging.

I buy enviornmentally-friendy cleaning and laundry products from Costco – their own line.  There is a multi-use cleaner (great for the black surface that lives under the grates on my KitchenAid range, by the way – no streaks), dish detergent and laundry soap.

I use spray cleaner and bacteria-resistant cloth towels for clean-up rather than disposibles.

I make sun (or counter) iced tea in a one-gallon jug and do not buy bottled drinks.

You’d be amazed how little things like this add up.