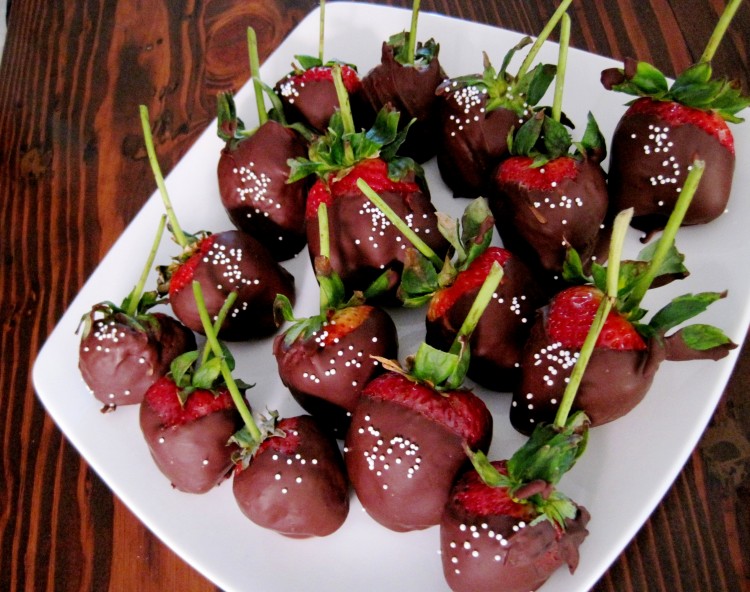
Chocolate-covered strawberries ready to be served
I always make chocolate-covered strawberries for my family on Valentine’s Day. My husband loves them, and they make my son feel better if he’s between girlfriends.
You can temper chocolate the traditional way, AKA the long way, but try the method described below. It’s much easier.
If you want to be a little fancy, get your hands on some long-stemmed strawberries. Trader Joe’s has them for $6.99 per pound. A little high, I know, but think of the occasion — it’s love, man!
You’ll need:
1# long-stemmed strawberries, gently washed and absolutely dry. Trim the very end of each stem at an angle, and trim off brown leaves, too.
Silicone baking mat laid out on a cutting board or flat counter.
Glass, heat-resistant, 2-cup measuring cup, like Pyrex, with 1 cup good dark chocolate fèves (like coins) or pearls.
I use Valrhona Manjari (64% cacao), which I buy in a large bag at Spun Sugar in Berkeley. If you don’t want to buy fèves or pearls, get block chocolate and cut it yourself.
Another 1/4 cup chocolate. You are looking for 1/4 the quantity of your original 1 cup to seed, or add to, your melted chocolate to bring the temperature down.
For this method, whatever quantity you start with, you’ll need another 1/4 of that to seed.
White nonpareils. If you bake for the holidays, those shaker decoration sets often have them, especially Hanukkah versions.
A microwave.
A small wooden spoon.
A candy thermometer would be nice so you can check the temperature of the tempered chocolate, but you should be OK as long as you do not overheat your chocolate at the start.
The process:
1). Melt chocolate at 20 second intervals at full power, stirring after each interval, until it is melted and shiny. Do not, whatever you do, overcook it!!!
2). Mix in your seeding chocolate little by little, stirring fairly vigorously. This pulls down the temperature of your melted chocolate and allows the final product to set firmly and have a nice, shiny look. Your tempered chocolate should be at a working temperature of about 89 deg. F.
3). Dip each strawberry into the chocolate, largest first, and coat to about the 2/3 point and transfer to the silicone mat. You should realize now why I told you to use a measuring cup. It gives you height and you need less chocolate to do the job. The thick glass also holds the heat nicely. You may need to swirl the last few to coat, but that’s OK. Work quickly so your chocolate does not set before you’re done.
4). Sprinkle the top of the chocolate coating with a few nonpareils. Just a few, and be careful, ‘cuz they travel and your wife/husband/partner won’t want to be picking them up for the next week.
5). Allow to set about 45 minutes and then carefully peel the silicone away from under each strawberry (slowly — and don’t pull them up by their stems!) and move them to a nice serving dish.
6). Eat soon, and do not put in fridge unless you must. Chocolate does not like the fridge — you have been warned.
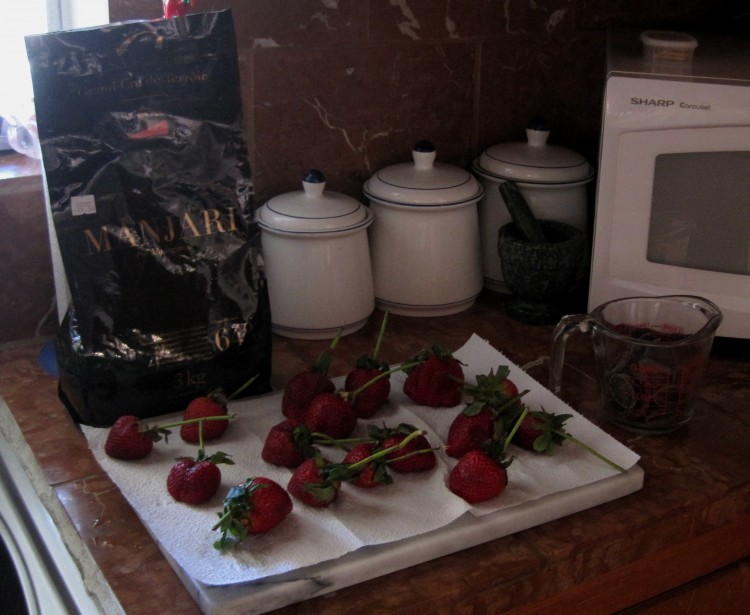
Terrible photo of set-up for chocolate-covered strawberries
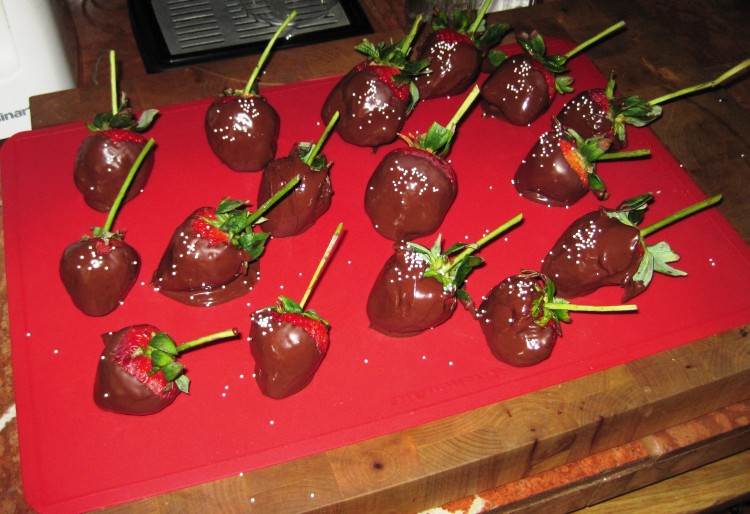
Strawberries coated with chocolate and nonpareils on silicone mat
