Category Archives: Tips

Earth Day 2010

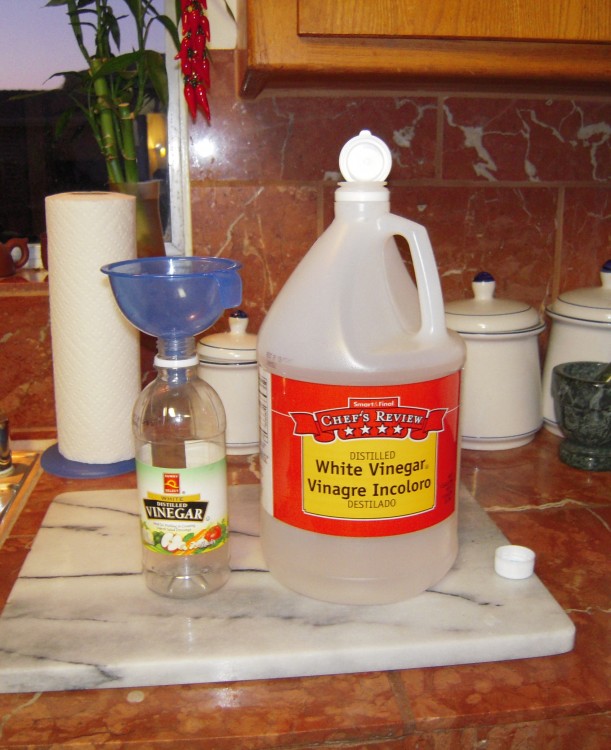
vinegar & funnel 4-10

Earth Day is a big deal in the SF Bay Area, but I’ll leave the public displays and überpreaching to others who get into those kinds of things.

I do my part by being frugal.  I’m not making any particular effort, it’s the way I was raised.

My parents had very little as children, to say the least, and these immigrant families had to struggle just to survive.  My Mom and Dad were always cognizant of their use of anything, so it was part of my world not to be wasteful, which results in kindness to your pocketbook and the environment.

Here are a few “green” things I do:

I’m big into funnels.  Funnels that funnel from large containers into small ones.  I do this with vinegar, soy sauce, cooking oil – whatever I can buy in large containers at places like Smart & Final and Costco.

I also have a large set of professional, food-grade plastic storage bins that I use for flour, sugar, rice, cornmeal, and about 25 other dry products.  Not only do they make access to these things easier, particularly flours, but they save the world from all that packaging.

I buy enviornmentally-friendy cleaning and laundry products from Costco – their own line.  There is a multi-use cleaner (great for the black surface that lives under the grates on my KitchenAid range, by the way – no streaks), dish detergent and laundry soap.

I use spray cleaner and bacteria-resistant cloth towels for clean-up rather than disposibles.

I make sun (or counter) iced tea in a one-gallon jug and do not buy bottled drinks.

You’d be amazed how little things like this add up.

Ginger tip

I’m sitting here thinking about all my backed-up posts and feeling somewhat crestfallen, but I want to tell you this, at least:  freeze a knob of “emergency ginger.”

When you buy ginger the next time, buy a large, fat root and break off half of it.  Peel (with a teaspoon), double wrap in plastic and toss into the freezer.  When you have a recipe calling for ginger and you don’t have fresh, simply grate what you need from the frozen piece and put it back.  While I would not use this for, say, a salad, it works just fine in most cooked applications.

Why you need a hand blender

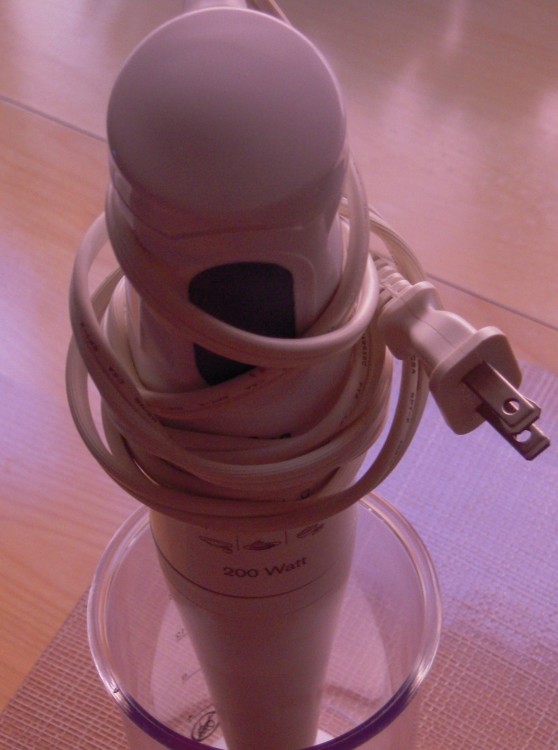
Hand blender

Word up:  part with the $20 it will take to get a hand blender, aka immersion blender, into the house.

There are things I can do easily with this guy that make it one of the most-used kitchen gadgets I own.  To be honest with you, I have two.  I got my father one some years ago and it came back to me when he passed away.  Thus, my own, which was stained red from a tomato product years ago, is used for things with natural dyes, and the other one is kept looking pretty.

Unless you plan on catering or otherwise making large quantities and/or feel more comfortable having something made by KitchenAid, I would not bother with the ~$50 KitchenAid model, though it is nice that its blending shaft is stainless steel and won’t turn purple or red, which the white ones will do, believe me, if you work with beets or pasta sauce.  I suggest you get the 200 watt Braun, which I have not been able to kill after years of hard use and dishwasher cleaning.  Given that the power (wattage) of the Braun and the KitchenAid (KHB100) is identical, the only thing you’ll give up is the stainless steel and about an inch of blending shaft length.  Note that the KitchenAid KBH300 costs about $100 but is the same blender with a boatload of attachments.  Since I have no intention of attempting to use my immersion blender for anything other than immersion blending, I don’t need all that stuff.

Here are a few things you can use this for:
1)  Thickening bean or veggie soups by blending all or part of the contents right in the pot
2)  Giving body to homemade tomato sauce so it’s not half tomato chunks and half liquid
3)  Blending thickening agents (and veggies cooked with meats) into cooking juices, which will result in smooth gravies
4)  Making cold sauces and spreads with things like roasted peppers, eggplants and nuts
5)  Making fresh mayonnaise
6)  Repairing broken sauces, like an anglaise
7)  Making baby food

The first item on the list is alone worth the cost of admission because it prevents the need to transfer hot liquid to and from a blender.

When you use a hand blender with hot liquids, just be sure to get enough immersion so you don’t splatter things all over yourself and get burned.  Practice with cold water, and try to use containers that give you height.  The little cup these units come with are great for blending small amounts of dressing, and you can stand the blender in the cup on your countertop when not in use.  The blade is on the end of a cylindrical piece that disattaches from the power unit, and can be cleaned in the top rack of a dishwasher.

I first used this tool in culinary school, though pro units are over three feet long and can puree gallons of soup quickly.  Professional cooks call these monsters “burr mixers, ” which may be an anglicized version of the brand name “Bermixer,” used by European manufacturer Dito Electrolux.  This is only a guess, and I’m trying to prove it.

For an interesting look at the invention and history of this appliance, check out the Bamix website.

Chalk up yet another great idea to the Swiss.

UPDATE on 28 September 2009:  I saw Cuisinart SmartStick handblenders for $30 at Costco today.  They have a stainless steel blending shaft and come with a bunch of attachments, though note that they are no more powerful (at 200 watts) and only a scant half an inch longer than the little Braun I discussed.
Chana masala without those super-pricy spice packets

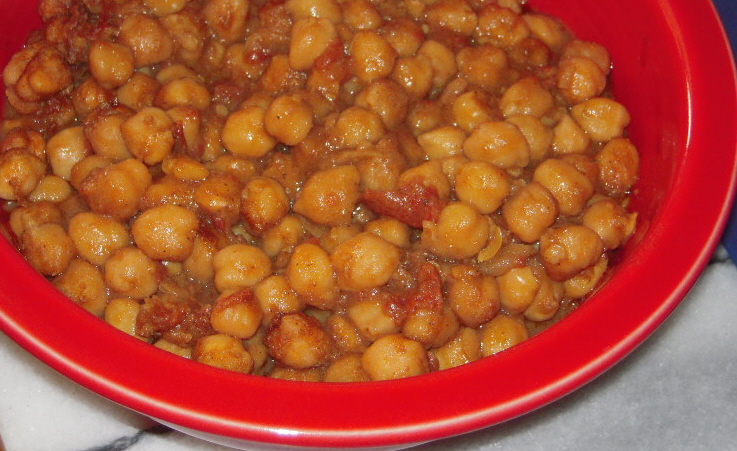
Chana masala

Chana masala

There is no reason you need to rely on those spice and spice paste packets enrobed in colorful little cardboard sleeves that have flooded the market in recent years when making Indian dishes.  These packets, produced by American companies mainly for American cooks, are often good for only one meal – and won’t even give you that, if you have a large family.  Most of the ones I have tried (and there are at least three companies that I know of) are perfectly fine in terms of results – no complaints there.  The problem is the price, which ranges from outrageous to high for what you are really getting.

If you don’t want to be bothered by mixing your own spices, or with making curry pastes, buy these items in Asian/Indian markets in quantity once you have the technique down.  There are blends produced and used in India but also packed for export, many of which have instructions in English, though asking the storekeeper for what you want is your best bet, since many shops sell spice mix in bulk.

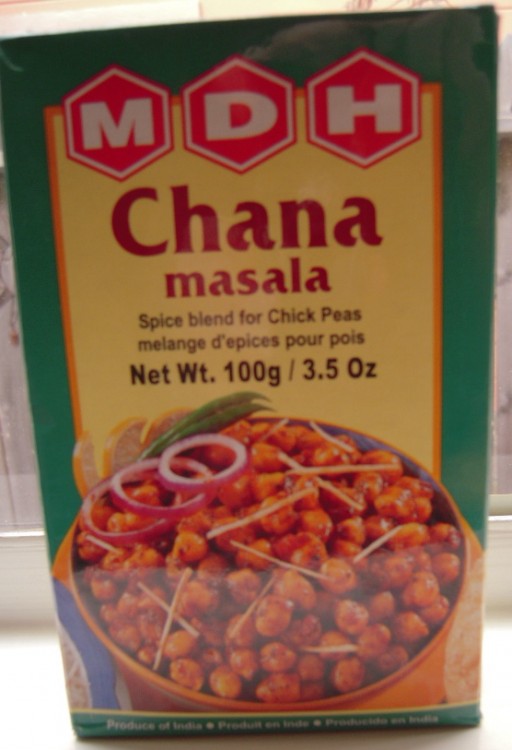
One brand I like for chana masala is MDH, which is sold in boxes of 100 grams (3.5 ounces), which gives you enough for five batches (or three, for larger families).  Some regular supermarkets in the Bay Area carry this for about $3, which is handy.  It’s much cheaper in Indian groceries, though.  This stuff makes an excellent chana masala!

MDH spice blend for chana masala

If you want the recipe from the box, here it is:

MDH’s Chana Masala

“Soak 200g [a tad more than 7 ounces] chick peas overnight with extra water.  Strain.  In a large pan heat 50g cooking oil.  Fry 120g [1 3/4 ounces] chopped red onions till golden brown.  Add two chopped tomatoes (120g) [4 1/4 ounces]and stir.  Add 20g [a bit less than 3/4 ounce] chana masala, 1 tspn. salt, and chick peas.  Stir for 5 minutes then add 800ml [27 ounces] fresh water.  Mix [in] 1/2 tspn. baking soda.  Bring to boil & cover.  Simmer for 40 min on low heat.  Alternately pressure cook for 20 min. with 400ml [just under 14 ounces] water and 1/2 tspn. baking soda.  Read cooking instructions on chick peas pack also.”

My notes:
1)  The stovetop method may need way more cooking time than 40 minutes
2)  You must soak your own chick peas!  Do not do this with canned chick peas!
3)  Do not omit the baking soda because you think it’s odd!
4)  I have no idea what the last sentence means; I ignore it