Ice cream is important, nay, essential, to a quality summer – especially the homemade kind.
Why make homemade ice cream? Because you control the sugar, which is key for me because I hate things that are so sweet. I also don’t much like gums and chemicals, and don’t appreciate a ridiculous overrun percentage, namely the volume increase by air. Check out Cook’s Illustrated on the matter. There’s an ice cream talked about there that’s 97% overrun. Manufacturers, please.
There are three ways you can make ice cream at home nowadays. An ice and rock salt affair that gets plugged in or hand cranked, though I haven’t seen one without juice for some time, a compressor-based model like the ones used commercially, and one that has a liquid-filled drum that you freeze.
The ice and salt method produces superior ice cream, but it’s a big mess and you have to schlep a bag of ice, which I have no space to store. Trust me, you’ll never make ice cream at the last minute with this kind of set-up.
Compressor models can cost thousands of dollars, but they have built-in freezers and you need only to plug them in. Cuisinart came out with a home model a couple of years back (ICE-50BC) that’ll run you about $250 – at the cheapest. As God is my witness, I will have one of these before I die. Right now, though, I can’t spend the money.
The ones with the drum that gets frozen – which the paddle scrapes against as it goes round and round – are sketchy in my opinion. They generally don’t get the ice cream firm enough, and you have to freeze it to the consistency of real ice cream after it comes out of the machine. To be honest with you, I had a small Donvier 20 years ago that I hated, and it was only recently that I decided to give the dreaded drum another try – but only because I have a new freezer that is really 0 deg. F. whose temperature remains stable. If you do not have this, I don’t suggest this method. The zero gives you a really, really frozen drum, and the stability keeps the ice cream from becoming crystalline when it goes in there to harden.
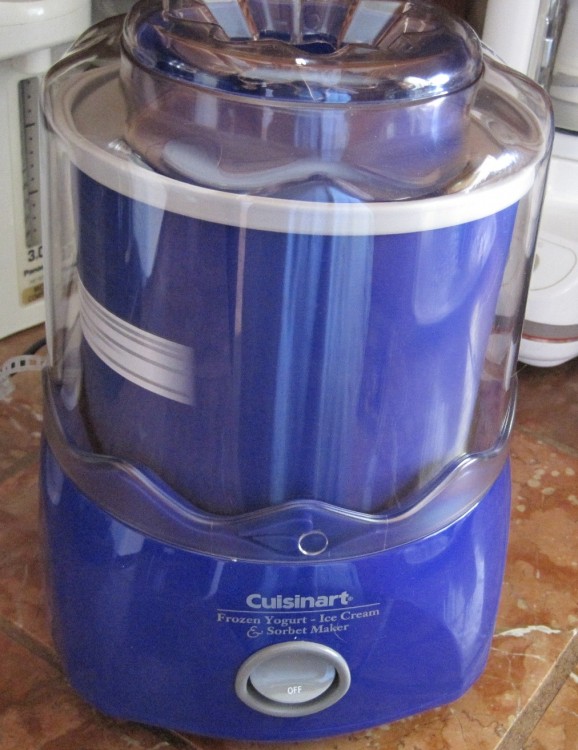
I’d been reading about the Cuisinart ICE-20R, a little plug-in affair with drum that was getting good reviews. Since I had a Sur La Table gift certificate on hand, I thought I’d go get a blue one there. Matt and I had lunch at Tacubaya (4th Street shopping center in Berkeley), a great little Mexican snack/small meal place, which is owned by the folks behind Oakland’s Doña Tomás, by the way, and then plodded across the street to Sur La Table.
When I was a kid in New York City in the 1970s, there was an ad jingle that went, “I browse at Bloomingdale’s….but I buy at Alexander’s!” Sur La Table is a little like that for me: pricey, but a great place to peruse. I buy gadgets and things there that I can’t find elsewhere, and run into the occasional bargain. Very nice people at the Berkeley store. $55 later we were back in the car with a box.
Nice, sturdy thing with only four parts and a cord that actually fits totally into the base when not in use. I appreciate this, given the way I have to fight with my rice cooker in this regard. Not pretty.
You can make up to 1-1/2 quarts of ice whatever, though I make a quart so I’m not pushing the drum to its outside limit.
Read the manual from start to finish. You’ll be sorry if you don’t, because you’ll mess something up, most likely with drum handling.
I’ll give you my basic (non-cooked) ice cream recipe to start off with, but know that you can make a cooked base that’ll give you very rich ice cream, if you like that. I can’t stand custards of any kind, so ice cream with eggs is something I stay away from. Start with this recipe first so you get the hang of the machine. Also, note that you will be dealing with a delicate product – there are no stabilizers! You may not be used to this. Try to get the ice cream out of the drum/canister and into the freezer quickly.
Finally, when recipes call for only a few ingredients, make sure they are of a high quality. Spring for organic dairy products here.
In sum, if you want to make very good homemade ice cream and don’t want to spend big bucks, you can’t do better than this Cuisinart. Easy to set up, operate and clean, it’s hassle-free and you can make ice cream at fairly short notice if you store the drum in the freezer at all times.
Easy Raspberry Swirl Ice Cream
Makes about a quart, give or take
1 cup whole milk
1/2 cup sugar
2 cups heavy cream (yes, that’s right)
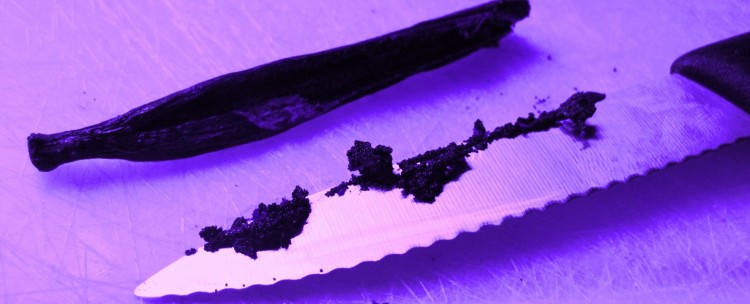
1/3 vanilla bean, scraped of its contents (use the shell to make vanilla sugar – don’t throw it away!)
3 or 4 tablespoons raspberry preserves, pushed through a fine sieve if the seeds bother you
1). Make sure the ice cream drum/canister goes into the freezer the day before.
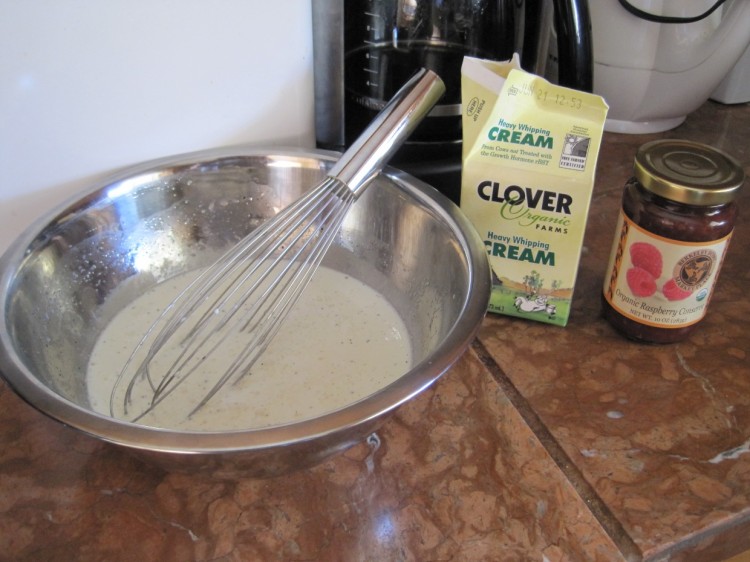
2). Whisk milk, sugar and vanilla until there are no sugar granules left.
3). Whisk in the cream.
4). Place mix in fridge while you quickly set up machine with the drum rotating.
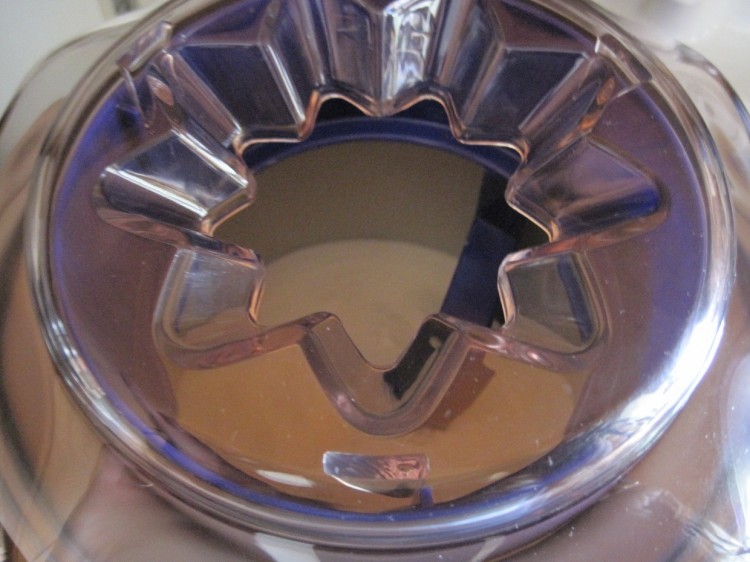
5). Pour ice cream mix into the top (there is a hole for this).
6). Let run for 25 – 30 mins, but check now and then.
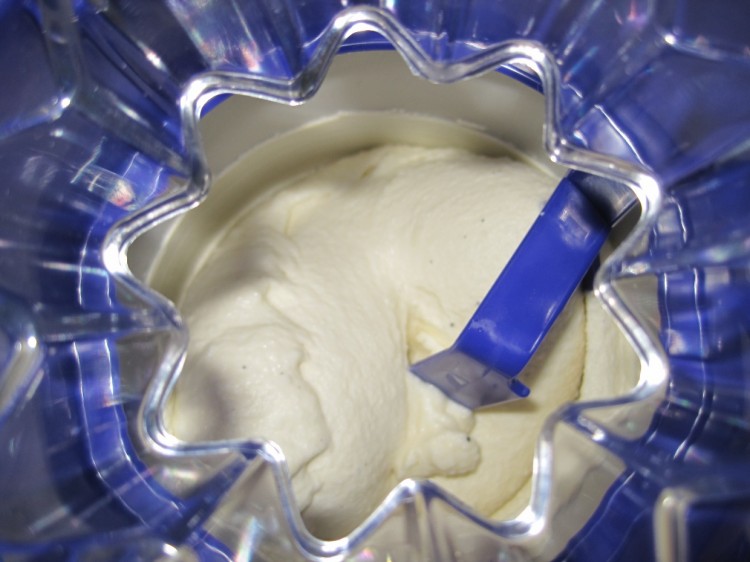
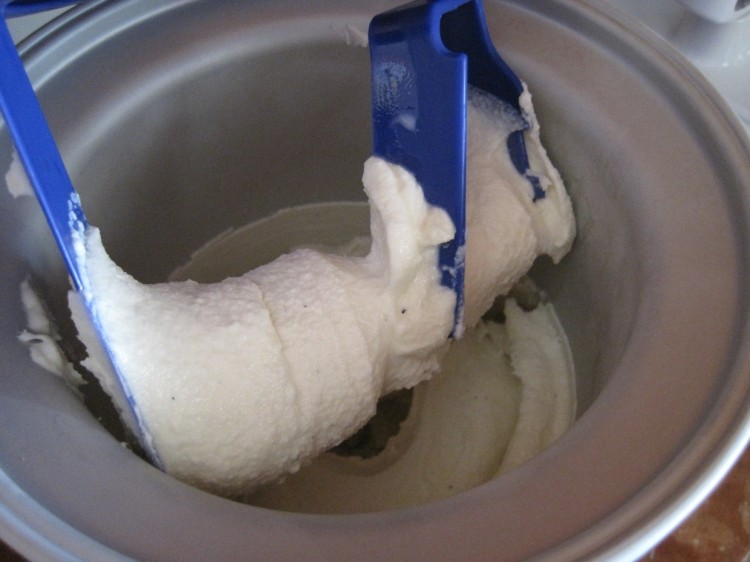
7). When nice and thick (check my photos), get it out of there and into a plastic container with a spatula. Work fast because the ice cream will freeze and fuse to the drum.
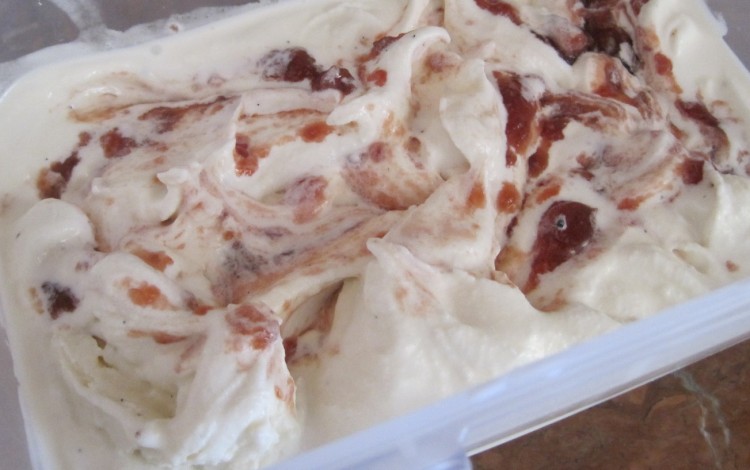
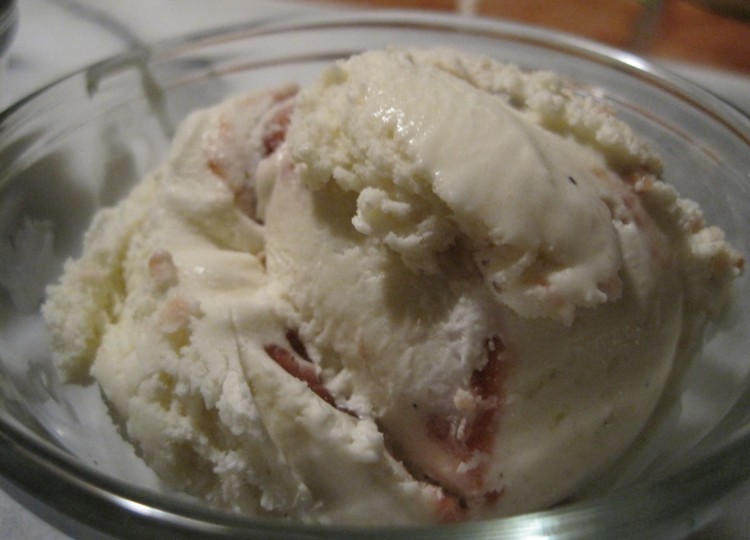
8). Smooth ice cream and add a few veins of raspberry conserve. You don’t have to be too neat about it – get it done fast.
9). Seal container and pop in freezer for at least 2 hours.
If you want to mimic Baskin-Robbins Baseball Nut – a flavor I love – press in some chopped cashews after the raspberry swirl before the mass goes into the freezer.
The raspberry I used is not bright red because it’s Berkeley Bowl’s organic version – no colorings.
Word of warning: don’t try to clean the drum right away. Whatever you put in there will fuse to the surface, including your hand.
Here are some photos of the process:
1). Ice cream mix
2). Mix added to machine
3). At about the right stage
4). Looking like ice cream
5). With the raspberry swirl and ready for the freezer
